Why Your Coffee Tastes Sour: 7 Brewing Mistakes and How to Fix Them
Your coffee tastes sour. Not bright and fruity in the way a good Ethiopian pour-over can be, but sour in that mouth-puckering way that sits at the back of your jaw and makes you put the cup down. It's one of the most common complaints in home brewing, and one of the easiest to fix once you know where to look.
The acids in coffee dissolve early in the brew. The sugars, the body, the rounded sweetness that makes a cup taste finished — those arrive later. If the water moves through the grounds too fast, or it isn't hot enough, or there isn't enough coffee in the first place, the brew stops before the sweet compounds show up. What's left in your cup is the acid on its own, with nothing to balance it. That's the whole story in one sentence.
Below are the seven mistakes that cause it most often, roughly in order of how often they're to blame. Read through them, pick the one that matches your setup, and change a single thing at a time. Coffee responds to small adjustments much better than to overhauls.
1. Under-Extraction: the Usual Suspect
If you only check one thing, check this. Under-extraction happens when the water hasn't had enough contact with the grounds, and it produces exactly the flavour you're describing: sharp, thin, sometimes a little papery, with a finish that stops abruptly.
Four levers control extraction, and you can pull any of them:
- Grind finer. More surface area means faster extraction. One or two clicks on a stepped grinder is usually enough.
- Brew longer. Add 20 to 30 seconds to a pour-over, or slow your pour.
- Use hotter water. A few degrees can shift a cup noticeably.
- Agitate more. A gentle stir or swirl during the brew moves water through the bed and pulls more out of the grounds.
Change one, taste, and then decide. If you grind finer and also brew hotter, you won't know which fix worked — and you'll overshoot into bitterness before long.
2. Water That's Too Cool
Water temperature is the quietest of the common faults, because nothing about the brewing process looks wrong. The kettle boils, you pour, the coffee drips through at the usual pace. But if the water hitting the bed is 85°C instead of 93°C, the acids come out and the sugars don't.
For light and medium roasts, aim for roughly 92–96°C. For darker roasts, where the sugars are already developed and easier to extract, drop to around 88–92°C to avoid bitterness. If you don't have a temperature-controlled kettle, boil the water and let it sit for 30 to 45 seconds before pouring.
One thing worth doing whatever your kettle says: preheat the brewer, the carafe and the cup. A cold ceramic dripper pulls heat out of the slurry in the first thirty seconds, which is precisely when you need it most.
3. A Grind That's Too Coarse for the Method
Grind size is the variable most people set once and forget. But beans age, burrs wear, and a setting that worked in March can be too coarse by June. A few clues that your grind is the problem:
- The water drains through a pour-over in well under two minutes.
- The coffee bed looks loose and flat afterwards instead of slightly domed.
- Pressed between your fingers, the spent grounds feel like dry sand rather than damp powder.
- The cup tastes sharp and watery at the same time.
Blade grinders make this harder, because they produce a mix of dust and boulders — the dust over-extracts and turns bitter while the boulders under-extract and stay sour, and you get both faults in the same cup. If you're grinding daily, a burr grinder is the single upgrade that will do most for your coffee.
4. Too Little Coffee for the Water
A weak ratio doesn't just make coffee watery; it makes it taste sour, because there's less soluble material to round out the acids. The standard starting point is around 60 grams of coffee per litre of water — roughly 1:16. If you're using a scoop rather than a scale, you're probably drifting, and you're probably drifting in different directions on different days.
Weigh both. Fifteen grams in, 250 grams out, is a decent place to begin for a single mug. From there, if the cup is sour, nudge the dose up slightly before you touch the grind — it's the easier change to reverse.
5. Pour Technique and Uneven Saturation
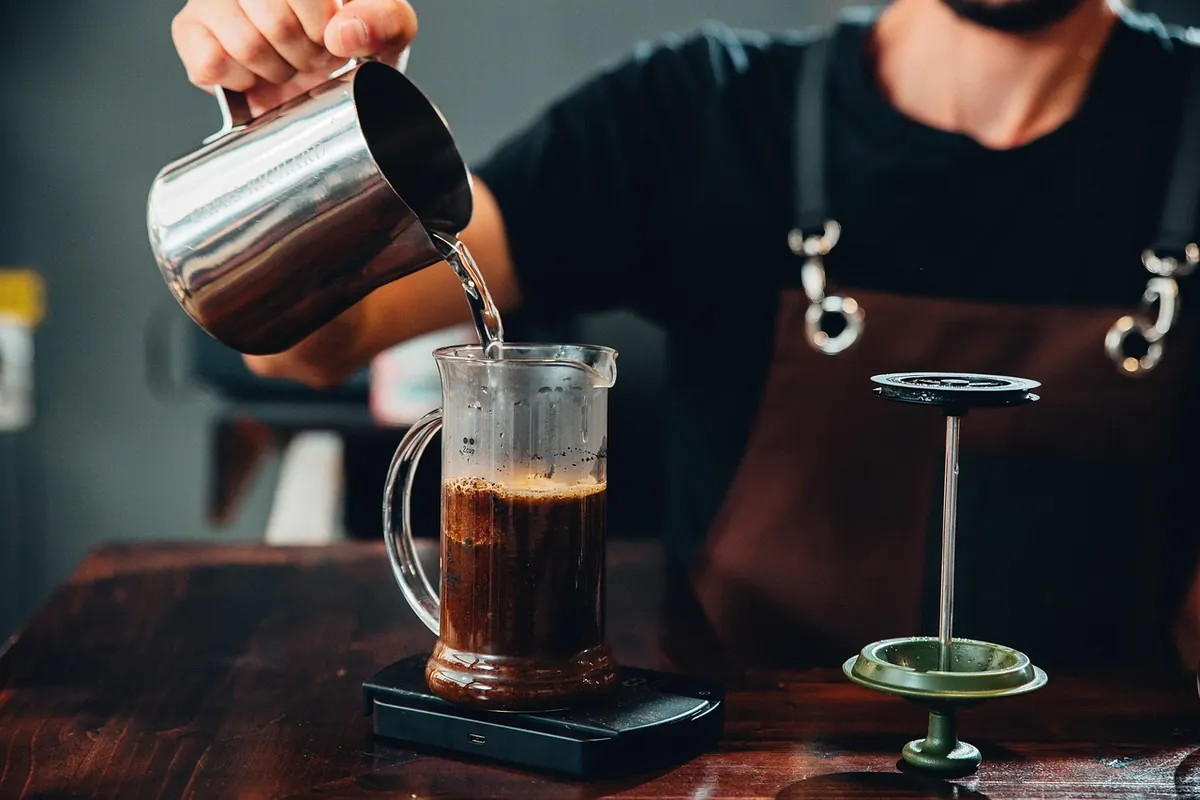
Water takes the path of least resistance. If you dump it into the middle of the bed, it can tunnel through a crack in the grounds and leave whole patches of coffee untouched. The result is a cup that's both sour and bitter, which is confusing to diagnose.
Start with a bloom: pour about twice the weight of the coffee in water, wait 30 to 45 seconds while the bed releases gas, then continue in slow spirals from the centre outwards. Keep the water level steady, avoid pouring directly down the paper filter, and give the dripper a gentle swirl at the end to level the bed. In espresso, the same principle applies — an uneven puck channels and sours the shot.
6. Beans That Are Too Fresh, Too Light, or Too Old
Light roasts are naturally more acidic than dark ones. That's not a fault; it's the style. But a very light roast needs more work to balance — a finer grind and hotter water than you'd use for a medium roast. If a new bag suddenly tastes sour, adjust your brewing before you blame the roaster.
Coffee roasted two days ago can also taste sharp and gassy, because it's still releasing carbon dioxide. For filter brewing, most beans settle down somewhere between five and fourteen days off roast. Old coffee is a different problem: past six or eight weeks it tends to taste hollow and faintly sour at once, and no grind adjustment will bring back what isn't there. Store beans in a sealed container, away from light, and buy in quantities you'll finish.
7. Water Quality and a Dirty Brewer
Water is more than 98 percent of the cup, and it matters. Very soft or distilled water lacks the minerals that help pull flavour out of the grounds, and the result is often a thin, sour, slightly chalky brew. Very hard water does the opposite and furs up your kettle and machine with scale.
Filtered tap water is a reasonable middle ground for most people. If your local water is heavily chlorinated, a simple carbon filter will remove the worst of it. And rinse your equipment: old oils in a filter basket, a stained carafe, or a machine that hasn't been descaled in months will all leave a sour edge that no amount of grinding will fix.
A Quick Diagnostic for Your Next Cup
Next time you brew, work through this in order. It takes ten minutes and it will tell you more than a week of guessing.
- Weigh your coffee and your water. Write both numbers down.
- Check your water temperature with a thermometer, even if your kettle has a display.
- Grind one step finer than your current setting and brew exactly as you usually do.
- Taste at two minutes, when the cup has cooled a little — sourness is much easier to detect warm than hot.
- If it's softer and sweeter, you found the problem. Keep going finer until it turns bitter, then back off one step.
- If nothing changed, the issue is upstream: check the beans, the water, or the ratio.
Sour coffee is rarely a mystery once you've tasted a few deliberate adjustments side by side. Keep notes for a week — dose, grind setting, temperature, time — and the pattern will appear. Then you'll have a recipe you can trust, and a bag of beans that finally tastes like it was supposed to.
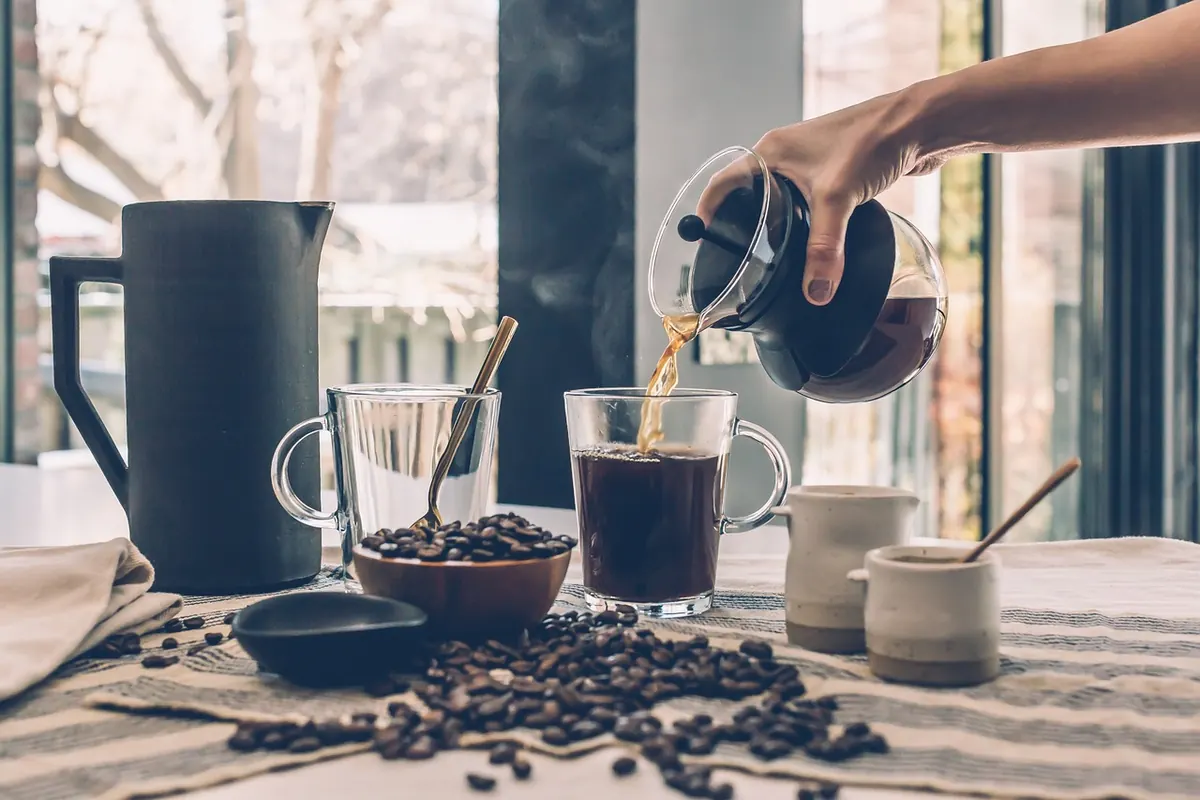
Photo: Christoph / Pixabay
Local Roaster Spotlight: How to Choose Beans from a Nearby Coffee Roaster
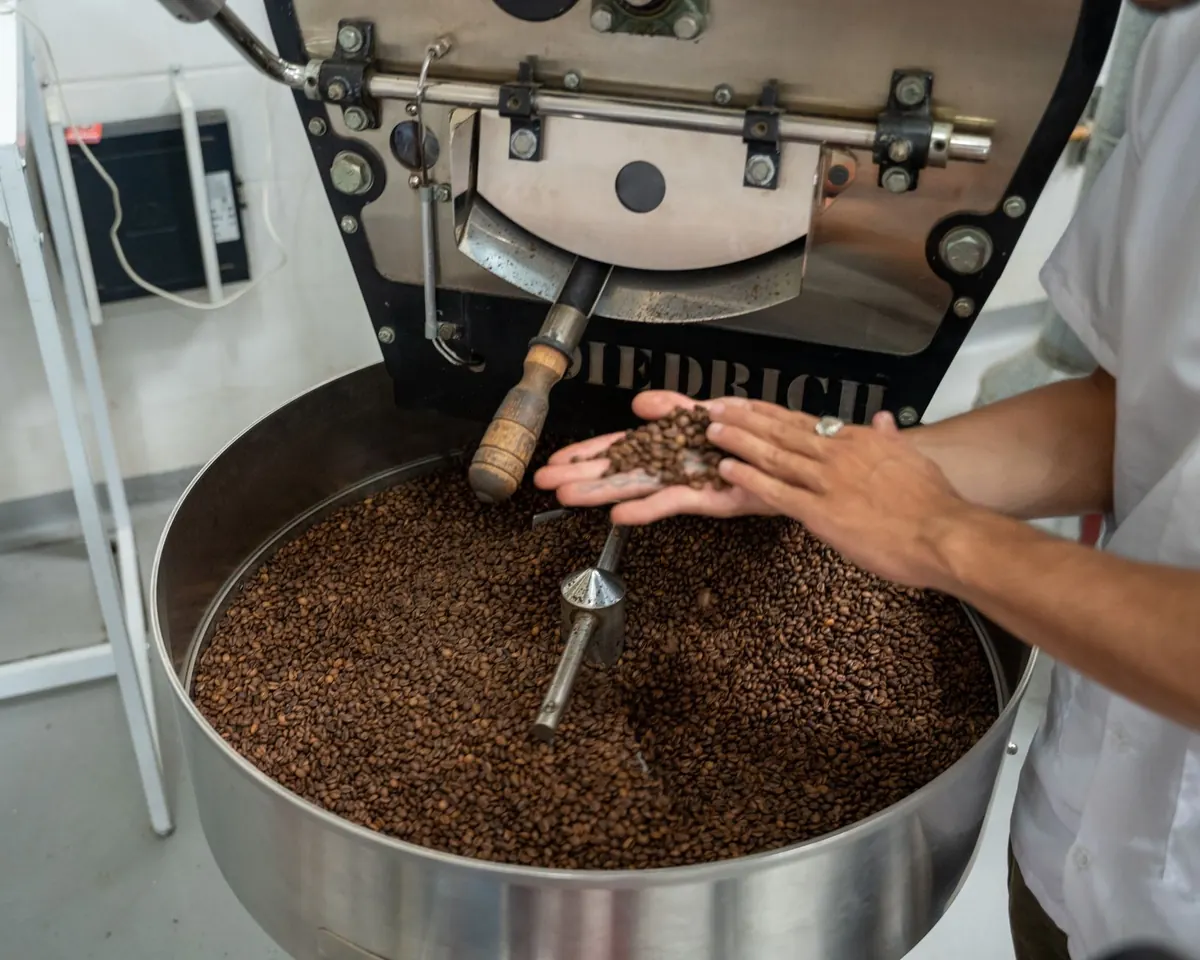
A practical guide to buying beans from a nearby roaster — how to read roast dates, what to ask at the...
Weekend vs. Weekday Coffee Brewing: A Time-Saving Routine Checklist
A practical checklist for splitting your coffee routine in two: fast, repeatable weekday brews and slower...
About Us